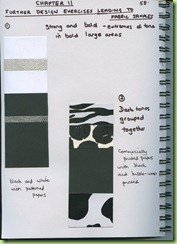
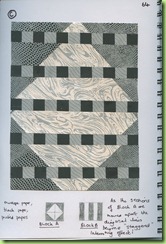
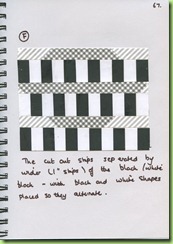
Paper strips using a different tonal effect to show design elements


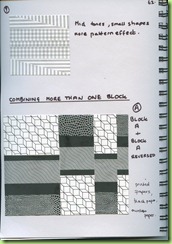
and combining more than one block:-
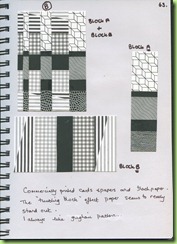


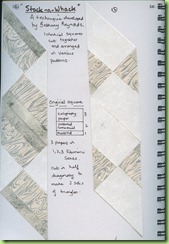
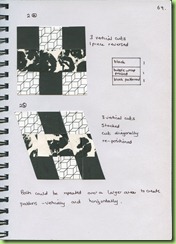
“Stack-n-Whack”
Identical squares cut together and the shapes re-arranged in various patterns…
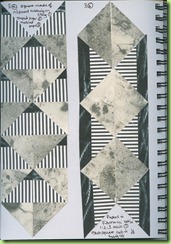
Viv's creative work
‘Piecing’ – a method of cutting and seaming
Paper Method
Starting with black and white strips of paper glued together side by side – then cut and re-arranged several times to create new patterns:-
5 stages:-
Diagonal strips cut from Stage 2 and glued to paper then Stage 2 pattern cut horizontally and re-arranged and then stage 3 pattern cut diagonally and the pieces swapped around:-
Stage 3 pattern cut horizontally, strips re-arranged in the Fibonacci series, then glued together vertically:- looks like it’s curving around to the left…
Fabric Method
Like the paper samples with strips of black and white fabric seamed together but larger pieces – 30 ins X 6ins.
Marked into 3 sections 1:2:3 – in the Fibonacci series and the 1 section cut off and retained.
3 diagonal cuts made in the remainder of the sample and then re-arranged and seamed.
3 more cuts made then one piece retained.
The rest of the sample was repeatedly re-seamed and cut.
The jeans foot was used to help sewing over the thick seams and finally the 2 retained portions were sewn back on the sample to show the gradation from the original stage through the partially re-pieced stage to the final really ‘seamy’ part. The seams were then fluffed up a bit with a wire brush.
And finally me working at this module!
The Golden Section – Fibonacci – sized squares
arranged in a spiral….
Worked in papers
Designing with the Fibonacci Sequence
1 and 2.
3.Strips of ‘Fibonacci size’ arranged with Fibonacci sized spaces..
4.Black card and printed card:-
5.Cut with vertical gaps
6.No gaps but flipped alternate strips:-
7 and 8.New block with 5 strips and another one the same above – using envelope papers – then cut vertically and staggered…
9.More strips but arranged as in the Courthouse Steps formation
10.Strips cut diagonally and
11.Using a series of squares from the Golden Section
12. Doesn’t all need to be squares and rectangles – a triangular version:-
2 together…
Then coloured papers added:-
Fibonacci grids placed horizontally and vertically and alternate shapes filled in with pencil…
Now in curves – Fibonacci radii…
Then random curves cutting through a Fibonacci sequence:-
And the evaluation:-

